
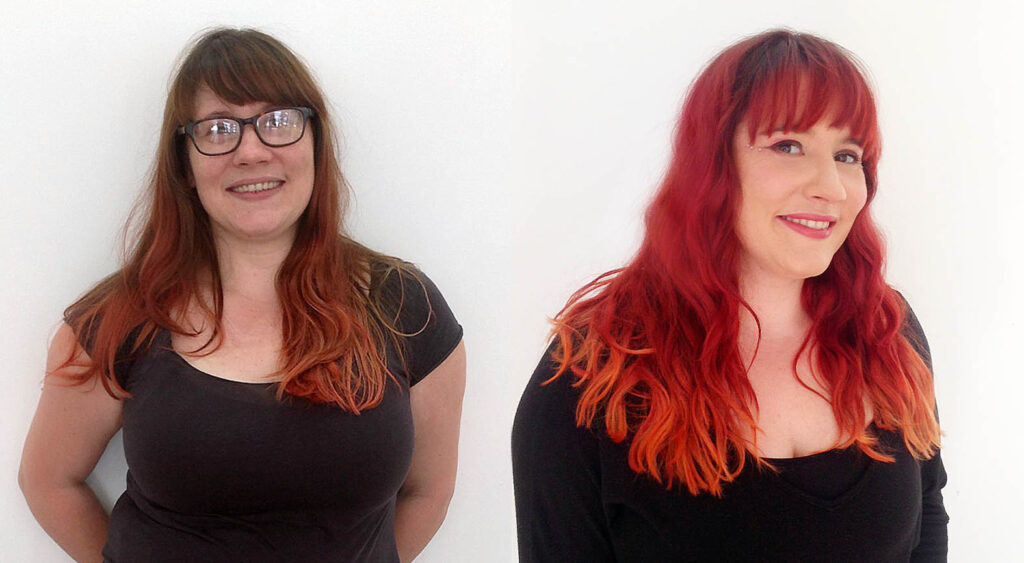
It’s time for a little makeover and our first real Italian recipe. This one came about for two reasons. Firstly we were inspired by Lily Allen and the hair she sported for Glastonbury this year. Also our model Sarah, who is an artist and illustrator adores colour. She wanted a bright look with a bit of a twist. Read on to find a how to on creating sunset ombre hair.

This year’s trend for vivids shows no sign of slowing down along with ombre, it looks as if it’s here for a while longer. So we put these ideas together and created a bright look with the low maintenance of ombre but with the pizzaz Sarah wanted. She wanted her hair to “stand out” and to be noticed at exhibitions along with her artwork.
However something that Sarah was absolutely adamant about was maintaining the condition of her hair. Sarah came to us initially wanting pale pink hair and she is naturally brunette. She had seen youtube “how-to’s” and was frightened of hitting the bleach bottle hard! I think is worth noting that the “pro-sumer” is now a reality! Have you got customers who walk into your salon and seem to know about every hair product and colour company? They’ve read the blog, watched the youtube video and have researched the colour, style and how to create that look to the enth degree. The catch is with all this information gathering, sometimes they get their facts a bit confused and non-hairdressers often making internet videos haven’t approached it the best way and really don’t have the professional training to be advising the public about hair.
The colour you are about to see was created only using 10 and 20 volumes of developer. Lynne our senior colour technician and international trainer was keen to show you that it’s possible to achieve vibrant colours without using high volume developer and minimilise the bleaching.
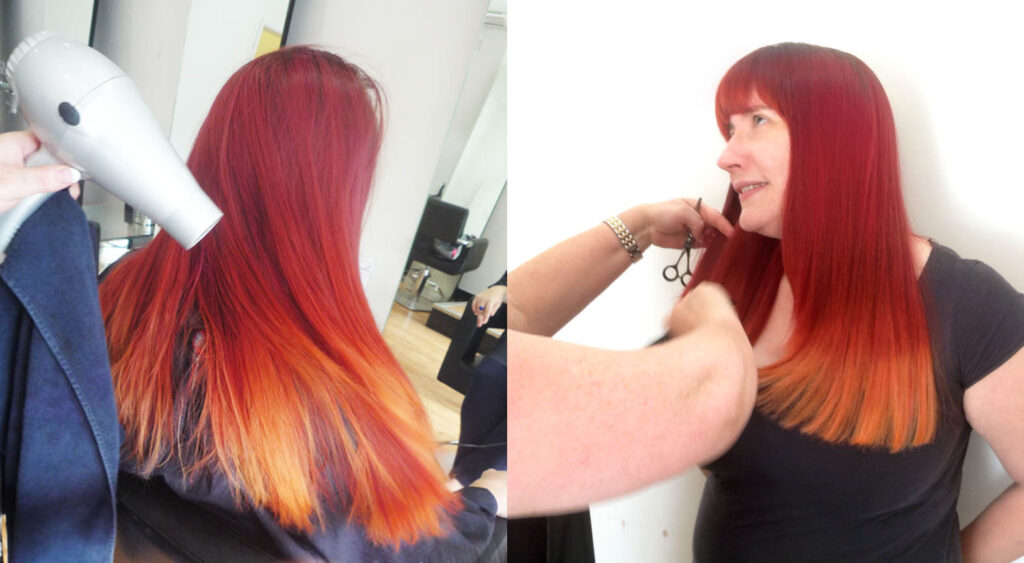
My brief to Lynne was to create hair that had the appearance of a sunset or flame. The final look that you are about to see is a blend of four colours violet, moving into cherry, then red and finally on the ends copper.

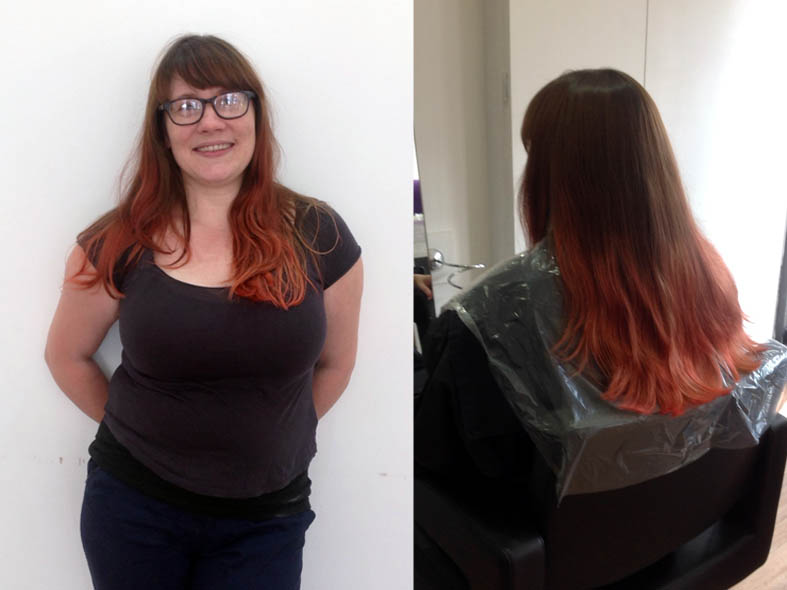
Sarah’s hair before is mid-brown or a base 7. She had dabbled with the box colour on the ends of her hair in a bright red but wanted to take the plunge for something more exciting. The red had faded, purposely accelerated with the help of a well known brand of supermarket shampoo.
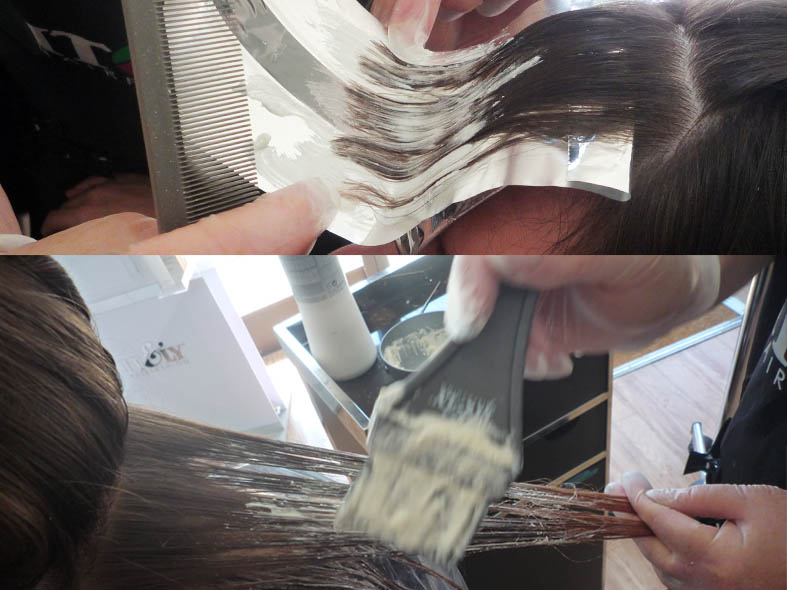
Step 1
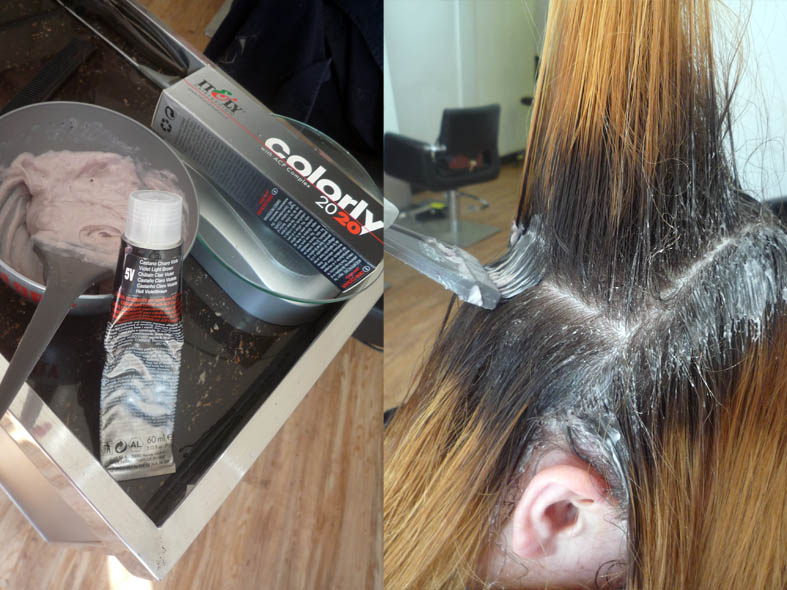
Lynne mixed up 60ml of blondly bleaching cream with (20 volume oxily developer) . Blondly cream will lift hair up to seven shades lighter and contains Jojoba and Argan oil to help protect the hair. This was applied to mid lengths of the hair and mid way down to the ends of Sarah’s fringe leaving the roots out. Paint the cream loosely and not in a straight line to create a blended look. Leave to develop for 20 minutes. Once you get the right level of lift wash the hair immediately. Obviously your client may have a different hair texture or base level so adjust times accordingly and check how the colour is lifting.
Step 2
After 20 minutes Lynne pulled blondly on volume 10 Oxily developer down to the ends for a further 10 minutes. This was to remove some of the red that Sarah had left on the ends. The hair was then washed and blasted dry. Next, for the roots see step 3
 Step 3
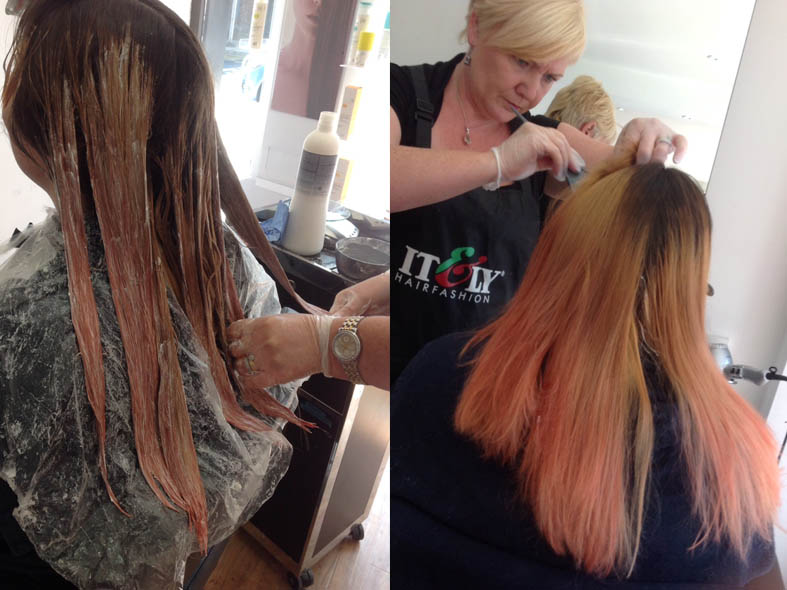
The hair was carefully sectioned and Colorly 2020 in shade 5V,a violet tone mixed with 10 volume Oxily developer ratio of 1.1. was applied to the roots, about 3 inches. This style is deliberately quite rooty!
Step 4
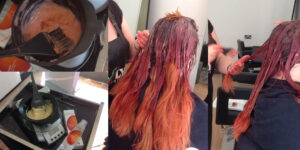
Light+Passion toner was mixed, this time in a ratio of 2 parts oxily developer in 10 volume with 1 part colour cream. Shade violet was painted on the mid lengths (from the edge of the 5V) and Intense Red further down from the violet. Do not colour the last 3 inches.
Step 5
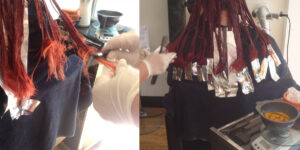
The ends of hair were gently back combed. Advanced Contrast in shade 6 (gold) and 10 volume developer was applied and covered with foils. Advanced Contrast is a bleaching powder which will simultaneously tone.
Step 6
To create a more blended look a smidgen more Blondly (with 10 volume Oxily) was emulsified across the top of the foils where some of the back combed hair poked out the top of the foils. The foils were then removed and the ends smoothed out.
Step 7
We shampooed and conditioned Sarah’s hair with SynergiCare Exclusive Hair Spa immediate repair. Immediate Repair is the best range to use on bleached hair as it restores strength to weakened hair. SynergiCare does not contain sulphates or parabens. There are no harsh detergents which means bright colours stay true. Make sure you wash the colour from the roots first and lift the lighter ends out of the way so you are left with a nice clean copper and that the darker red colours do not bleed into the ends.
The entire look should not take more than 2.5 hours

Styling and finish
We blow dried Sarah’s hair smooth and Lynne sliced through the ends to show more of the colour at the ends. Here is the final colour look. However to give the hair a more casual festival vibe we used the Miraki straighener to create casual curls or a beach waved look.
Make-up
Base : We applied a light BB cream as a base, set with a yellow based powder. highlighter and pink shimmer blusher.
Eyes: shadow in cerise, blended a darker shadow as an eye liner and finished with swarovski crystals to accent the eyes as a homage to Lily Allen’s make-up look
Lips : rose pink lipstick
Brows : Tidied up the shape with a dark brown brow powder.

Sarah was delighted with her final look. We gave her retail sizes of SynergiCare Immediate Repair shampoo and mask to maintain the condition and also keep her colour bright. A few weeks on and she has reported in saying it still looks great!
“I absolutely LOVE my new hair! Thank you so much for all your time and for creating a masterpiece. I learnt so much from your expert Linda O’Reilly. The colours are so bright and intense! Massive thank you from one artist to another”, Sarah Underwood
Thank-you to WWW.Comb Salon in West London for letting us use their Salon. If you have a great idea for a makeover let us know. Maybe we can visit you. If you try this recipe send us your work.
If you would like any information about the products featured get in touch using the contact form